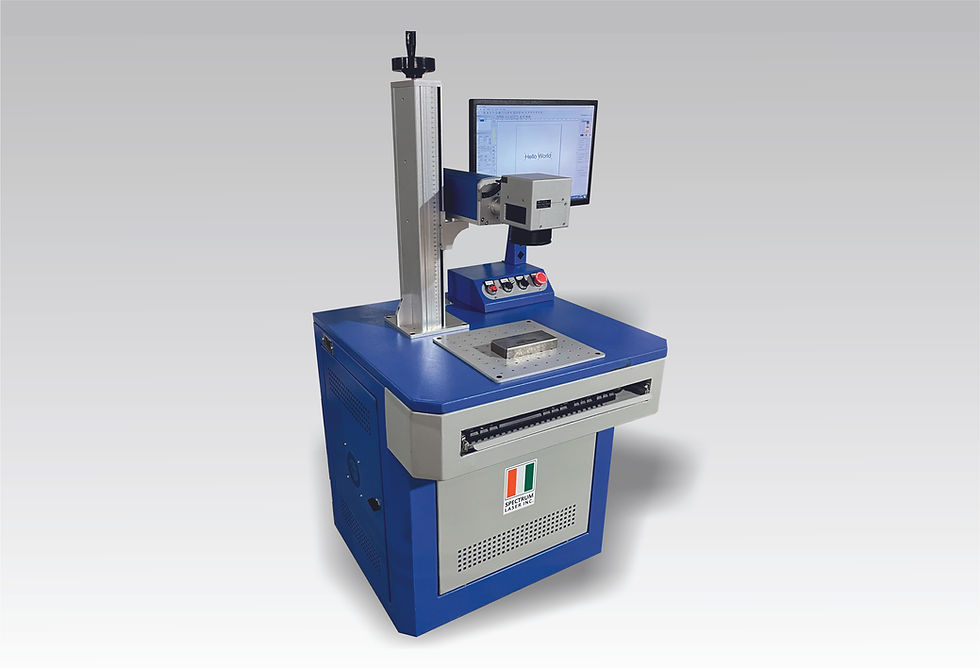
How to Achieve Perfect Calibration in Your Laser Marking Machine
- Mittal Sheth

- Sep 17, 2023
- 2 min read

Introduction:
Calibration is a crucial step in the world of laser marking. Whether you're marking products for traceability, personalization, or branding, achieving perfect calibration ensures that your laser markings are precise, consistent, and of the highest quality. In this blog post, we'll guide you through the steps to make perfect calibration in your laser marking machine a reality.
**Understanding Calibration in Laser Marking:**
Before we dive into the process, let's briefly discuss what calibration means in the context of laser marking. Calibration involves aligning the laser beam precisely, so it hits the target area accurately. Proper calibration ensures that your markings are in the right position, size, and orientation, meeting your specific requirements.
**Tools and Materials You'll Need:**
1. **Laser Marking Machine:** Ensure your machine is in good working condition.
2. **Calibration Software:** Most modern laser marking machines come with dedicated software for calibration.
3. **Calibration Targets:** These are samples or test pieces that you'll use to fine-tune your machine.
**Step-by-Step Guide to Perfect Calibration:**
1. **Prepare Your Workspace:**
Begin by setting up a clean and well-lit workspace. Ensure that your laser marking machine is properly connected, and all safety measures are in place.
2. **Select Your Calibration Target:**
Choose a calibration target that represents the material and geometry of the parts you'll be marking. It should have the same properties as your actual workpieces.
3. **Load the Calibration Target:**
Place the calibration target in the machine's marking area, ensuring it's securely positioned.
4. **Access the Calibration Software:**
Open the calibration software that accompanies your laser marking machine. This software allows you to make precise adjustments to achieve the desired calibration.
5. **Start with Beam Alignment:**
Begin by aligning the laser beam. The software should provide options to move the laser beam in different directions (X, Y, and Z axes). Adjust the beam until it's centered on the calibration target.
6. **Set Marking Parameters:**
Configure the marking parameters such as power, speed, frequency, and focus to match your specific material and marking requirements. Test different settings on the calibration target to find the optimal combination.
7. **Check for Accuracy:**
After marking the calibration target with your chosen settings, carefully inspect the results. Ensure that the markings are in the correct position, size, and orientation.
8. **Fine-Tune as Needed:**
If the markings are not perfect, use the software to make minor adjustments to the beam alignment or marking parameters. Repeat the marking and inspection process until you achieve the desired calibration.
9. **Save Your Calibration Settings:**
Once you've achieved perfect calibration, save the settings in the software. These settings can be reused for future laser marking jobs on similar materials.
10. **Test on Actual Workpieces:**
Before proceeding to mark your actual products, perform a trial run on a few samples to ensure that the calibration is still accurate for your specific workpieces.
Conclusion:
Achieving perfect calibration in your laser marking machine is essential for producing high-quality, precise, and consistent markings. By following this step-by-step guide and regularly verifying your calibration, you'll ensure that your laser marking operations meet your exacting standards and deliver excellent results every time. Calibration is an investment in the quality and reliability of your laser marking process, and it's well worth the effort.


Thank you for sharing your knowledge for all. Who are using Laser Marking machine and having initial level calibration issues. I am regularly reading Spectrum Laser Inc. blogs about Laser Machines.